Fossil fuel for a child’s imagination
Children are endlessly fascinated by dinosaurs – from their alien appearance to their exotic names, there’s something about these ancient creatures that never fails to grab a child’s imagination. So let’s enjoy this step by step guide to make dinosaur fossil now!
Like yourself, we’re always on the lookout for new and exciting ways to engage children during the Summer break. Whether it’s taking part in a craft activity or reading a book together, spending time together is great and, if you can sneak in a little educational content then so much the better! Making a dinosaur fossil with your child is great fun and, also, gives you a chance to tell him or her a little bit about fossils and how they occur. In nature, fossils take thousands of years to form. Thankfully, even the summer break doesn’t go on that long (although it may sometimes feel like it) so, I’ve put together a slightly quicker way of making your own dino fossil.

How to make your dino fossil
The following is a step by step guide to make dinosaur fossil with your child. You’ll need:
- A toy dinosaur (choose a toy with lots of texture and detail for the most effective dino fossil)
- Acrylic paints
- A paintbrush
- A sponge
- A glass beaker
- A couple of plastic bowls
- Water
- A block of clay (regular modelling clay is fine)
- Powdered plaster of Paris
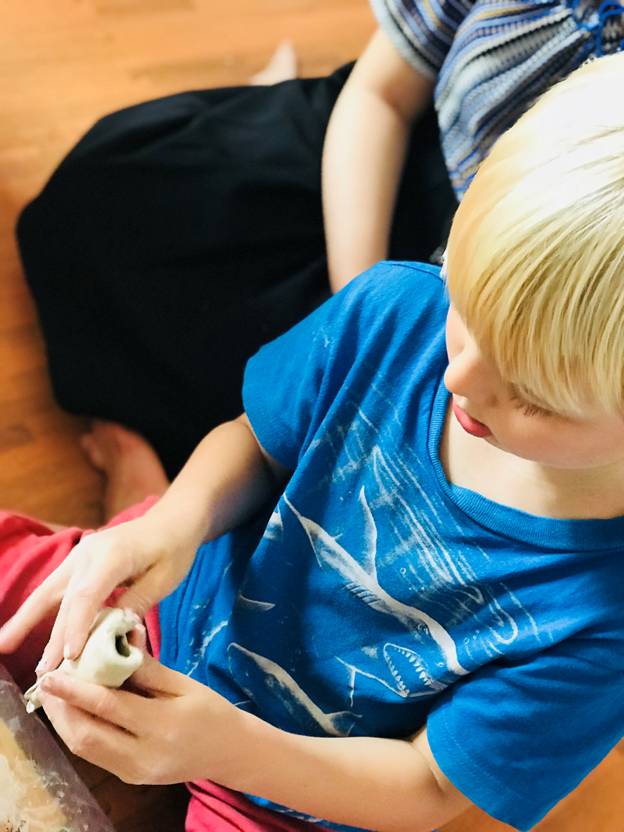
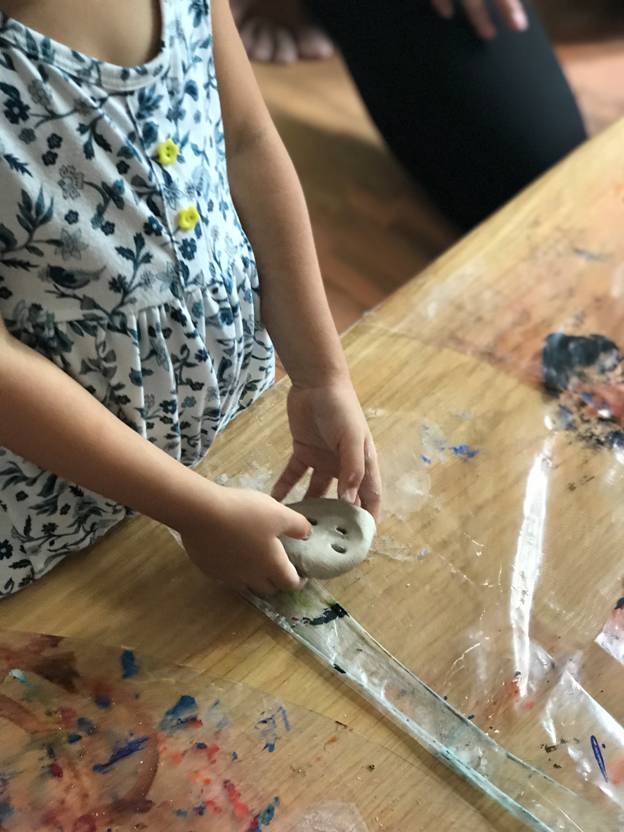
First, we make the base of our fossil with our modelling clay. Break off a piece of clay about the size of the palm of your hand and mould it into a round shape with a slight dip in the middle, like a shallow bowl.

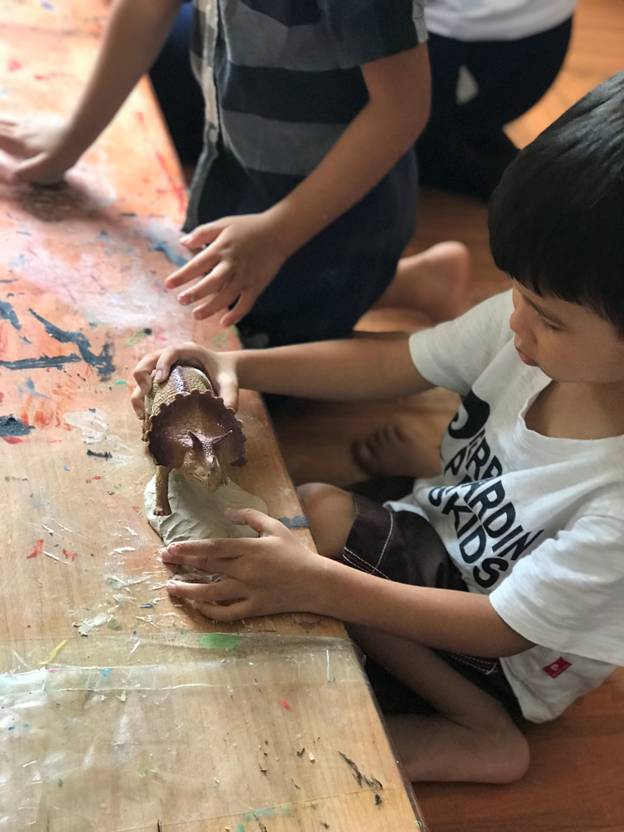
Next, take the dinosaur toy (held sideways so that it’s in profile) and press the toy into the clay and hold it for a moment or two. Gently pull the toy away from the clay and you’ll see that it’s left an impression of it’s profile in the clay.

Break off two more pieces of clay and mould them with your hands into long thick strips and then place these around the impression to form a wall around it.

Now, take your water and powdered plaster of Paris and mix these together in the glass to form a thin paste (around the consistency of yogurt). Once ready, pour the mixture into your clay bowl, leaving a little space (around 1cm) at the top. You’ll notice that the mixture gets thicker as you pour so you need to be quick. The mixture should set quite quickly (about five minutes) so, while it’s setting, you can make sure that you have your paints and paintbrush ready.

After around five minutes, gently prod the plaster of Paris mould to make sure that it’s dry. Then, gently remove the clay wall that you made around the dinosaur impression. Now, turn the mould upside down and gently remove the clay base. Now you have your plaster of Paris dino fossil.
Finally, use your sponge to mix together grey and brown acrylic paints to make a ‘rock colour’ then use your brush to cover the entire dino fossil to give it a realistic appearance.

Now that you’ve perfected your dino fossil you can experiment with other animal and insect toys such as spiders, snakes and much more.


